
Best Website Builders
How To Build Your Website From Scratch Using Squarespace
Make your business standout anytime, anywhere. Yes, that means even if it’s beyond business hours. Your website will be responsible for finding and securing new customers.
Building your website online is crucial for any business in today’s economy. It offers a wide array of benefits. From securing new customers, provides user convenience and access to information, etc. If you’re not taking advantage of it, your business could be losing a lot of opportunities on a daily basis.
Squarespace offers the best blogging too and better support. In fact, they have 100+ customizable templates to fully adapt to any mobile device. Likewise, it features a cool, fresh, and seamless homepage.
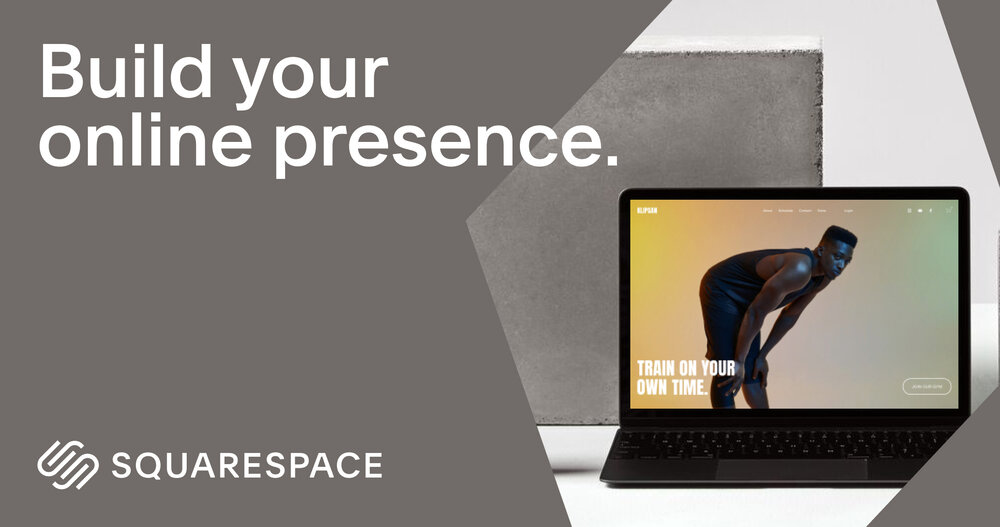
Are you thinking about building a strong online presence? We’ll teach you how! Additionally, Squarespace is the best website builder for blogs, online shops, and portfolio sites. If your website falls into one of these categories, make sure to read everything from top to bottom.
Sign up
Just like everything else, you first need to sign up and log on to Squarespace. Next, click on the Get Started button located at the top right corner of your screen.
Determine your site’s unique needs
The next step is to provide your answers to help Squarespace determine your website’s unique needs. It’s an easy process that involves clicking on the choices provided. Likewise, the first question is to let Squarespace know what kind of website you are trying to build.
The choices range from Art, Technology, Fitness, Travel, Health, Photography, Fashion, Gaming, Consulting, Design, Food, Music, Restaurants, Photography, etc. The questions will help Squarespace get a better idea of how you want your website to look together with the features that will be included.
Additionally, Squarespace will ask what your top goals are. You have to select the best answer that applies to your site, like selling products, marketing your business, building a community, showcase your work, asking for donations, blogging, etc.
Likewise, Squarespace will ask about your current state in the process. This answers the questions, are you collecting relevant inspiration, formalizing an idea, building a business out of a hobby, growing an existing business, or replacing an existing site. Select the best answer and click Finish.
Designing your website
When you click the Get Started button, you’ll be redirected to Squarespace’s templates. This is where you’ll start designing your website. Likewise, the templates are available by category. You can choose between portfolios, popular design, online stores, photography, blogs, local business, professional services, weddings, events, real estate, restaurants, launch pages, etc.
Moreover, Squarespace will automatically show you the templates from the popular designs category. You can preview these designs before you choose which one suits your taste. Moreover, these templates are customizable. This gives you more room for creativity.
You can click on the Preview button to get a better view of your design. Once you decide to move on, you can click on the Start with this design. The button is located at the top right corner of your screen. However, if you want to do it again on another template, you can click on the Back button.
In addition, you can start even without a preview. All you need to do is hover your mouse on the Template and click “Start with” and the name of the template. Your design should be imported to your site.
Adding a logo to your website
Squarespace works with you in building your website. This ensures that every detail on your website will never get overlooked. Likewise, you can start making your logo, choose the fonts, and colors. Also, you can always go back to make changes as you continue the editing process.
Don’t have a logo yet? No worries. Squarespace comes with a logo maker tool to help you create your own logo even if you don’t have prior logo-making experience. Once you create your logo, it will be available on your canvas. Now, it’s time to choose the fonts.
Click on Next to start choosing the fonts. Squarespace will give you a preview or suggest a font and color combination that suits your site. This will help you save time in mixing or matching fonts to ensure a desirable outcome. You can also choose grouping palettes. Additionally, you can even create your own palette if you want a more personalized color variation.
Begin with the Home Page
Once you click on the Edit button, you can start editing the homepage. Remember, anything you see on the canvas can be customized depending on your taste. These areas include the heading, menu, and text. You can start wherever you’re comfortable.
The menu bar allows you to edit the logo, text, and header. You can click on any of the elements to edit or modify them. Also, you can delete the elements that you don’t want to include. The process is relatively easy.
Moreover, you can add sections to any page by clicking on the plus symbol located at the bottom of every page. This also gives you a list of choices for sections such as headlines, images, videos, text, quote, etc. You can even include a blank section if you wish.
Optimize your site for mobile devices
As a website owner, it’s crucial to have your website available in a mobile version. That’s because almost half of the users around the world are on their mobile devices. This translates to 52% of the total web traffic around the world.
Think about the huge loss of opportunity if you try to ignore this fact. Fortunately, optimizing your website for mobile use isn’t as complicated as it was in the past. In fact, you can do it with just a few clicks and a few easy steps.
All you have to do is click on the mobile phone icon and edit from there. The mobile optimization of your website should be finished in just a few minutes.
Add sub-pages
After you’re done editing the homepage, you need to add and edit the sub-pages of your website. These include the About page, Contact page, Blogs, etc. Also, adding pages is easy. All you have to do is go to the dashboard and click on the Pages button.
After clicking, you will see a plus sign. Next, you will be provided with other options like add a blank page or use a designer layout. On the other hand, if you’re uncomfortable creating your own, you can use the existing layout.
Time to edit your Main Menu
Your pages will appear on the menu depending on the order you choose for them. Customizing the order is easy. Just click on a specific page and drag on your wanted position. You can also choose to reorganize your pages or keep them as they are. No matter which action you choose, editing the main menu is relatively simple.
Make sure to add your blog
Blogs are important. They can affect your email marketing campaigns, social media promotions, and driving traffic to your website. Building your website is not the end. In fact, it’s just the beginning.
Adding a blog to your page is also easy. Thanks to the magic of Squarespace. Just go to the menu and look for the add a page. After you click on it, you will be provided with a selection of layouts. Likewise, your blog page should include content pieces so you can add a blog to each of them.
Thankfully, Squarespace knew the need when building a website along with the blog posts. So, they made it very easy for users to customize.
Conclusion
Your website is your marketing tool. That means your online presence is important as it will provide you with lots of opportunities to reach out to as many prospects as possible. Likewise, the potential to grow your business is great.
In addition, it will give your prospects a platform where they can purchase goods and services from you. Make sure your website makes a good impression on your brand.


Samsung Is Giving Away $700 Off On Its Galaxy S21 Deal

Why You Need To Buy Apple’s New iMac and iPad Pro 2021 Right Now

HP Z27k G3 4K USB-C Display 2021 Review

Top 10 Questions About Norton

LPGuard’s Best Monitors Under $200 In 2021
